PRTG Manual: Install the Enterprise Console
The Enterprise Console Is Deprecated! |
|---|
The Enterprise Console is deprecated. We provide the documentation in this section for your information only. We recommend that you use PRTG Desktop instead. |
The Enterprise Console is already included in a PRTG core server installation (PRTG on premises only) You can install additional Enterprise Consoles on other computers.
![]() PRTG hosted by Paessler does not support connections from the Enterprise Console. If you want to use it, connect the Enterprise Console to a PRTG on premises instance.
PRTG hosted by Paessler does not support connections from the Enterprise Console. If you want to use it, connect the Enterprise Console to a PRTG on premises instance.
Download Enterprise Console from the Web Interface
The version of the Enterprise Console (EC) has to match the PRTG core server version that you want to connect to. It can connect to a PRTG server where the third entry in the version number is equal to the third entry of the EC version number. For example, EC version 15.1.16.2023 can connect to any PRTG server with version 15.1.16.xxxx.
- From the computer that you want to install the Enterprise Console on, connect to the Ajax web interface of PRTG.
- On the login screen of the web interface, enter login name and password and click Download Apps (optional, for Windows, macOS, iOS, Android).
- You will see the downloads page where you can download the EC.
- Click Download: PRTG Enterprise Console and save the setup program to the local hard disk drive.
Install Enterprise Console
Execute the setup program PRTG_Enterprise_Console_Installer.exe that you have downloaded.
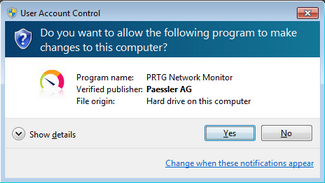
Confirm the question of the Windows User Account Control with Yes to allow the program to install. The usual software installation assistant will guide you through the installation process.
Select a language for the program and click the OK button. The available language options depend on both your Windows version and the setup file.
Click Next to walk through the wizard.
After accepting the license agreement, you can choose the folder you wish to install the software in. We recommend that you use the default value.
Select the start icons that you want to create for the Enterprise Console. We recommend that you use the default value.
Click Next to copy the necessary files to the disk of your computer.
After installation, click Finish to start the Enterprise Console. Enter the settings for the connection to your PRTG server in the appearing dialog.
See the section Enterprise Console for more information on how to use this GUI.


